date: 2021-10-20 updated: 2021-10-28
Hubot + Slack 搭建 安装 Hubot 参考 CetenOS 6.9 搭建hubot运维机器人
安装并升级 npm
1
2
3
4
yum install npm
全局安装 hubot 生成程序
1 npm install -g hubot coffee-script yo generator-hubot
接下来是用 root 安装的话,这个时候可能会遇到很多权限上的错误,主要原因是它需要对于组有读写权限,所以我用一个普通用户来执行安装
1
2
3
4
5
su liangshcd /home/liangsh/src/cd Hubot
安装过程问你一些问题,Owner(拥有者)、Bot name(机器人的名字)、Description(描述你的公司),最后问你安装什么样的adapter,手工输入 slack
1
2
3
4
5
6
7
8
9
10
11
12
13
14
15
16
17
18
19
20
[liangsh@localhost Hubot]$ yo hubotfor |for test
如果直接不填回车,缺省安装的 hubot,会带上 heroku 和 redis ,如果用不到的话,可以卸载掉:(建议还是要按照上面的填,不然可能最后报错)
1 npm uninstall hubot-heroku-keepalive --save
在 hubot 目录下的 external-scripts.json 文件中把有关 heroku 和 redis 的两行删掉就行了,否则老是会报几个警告。也可以把 hubot-scripts.json 删了,会提示是空的:
1 Your hubot-scripts.json is empty, so you just need to remove it.
运行 目前只有输入一些特定的词汇才有反应
1
2
3
4
5
myHubot> myHubot ping
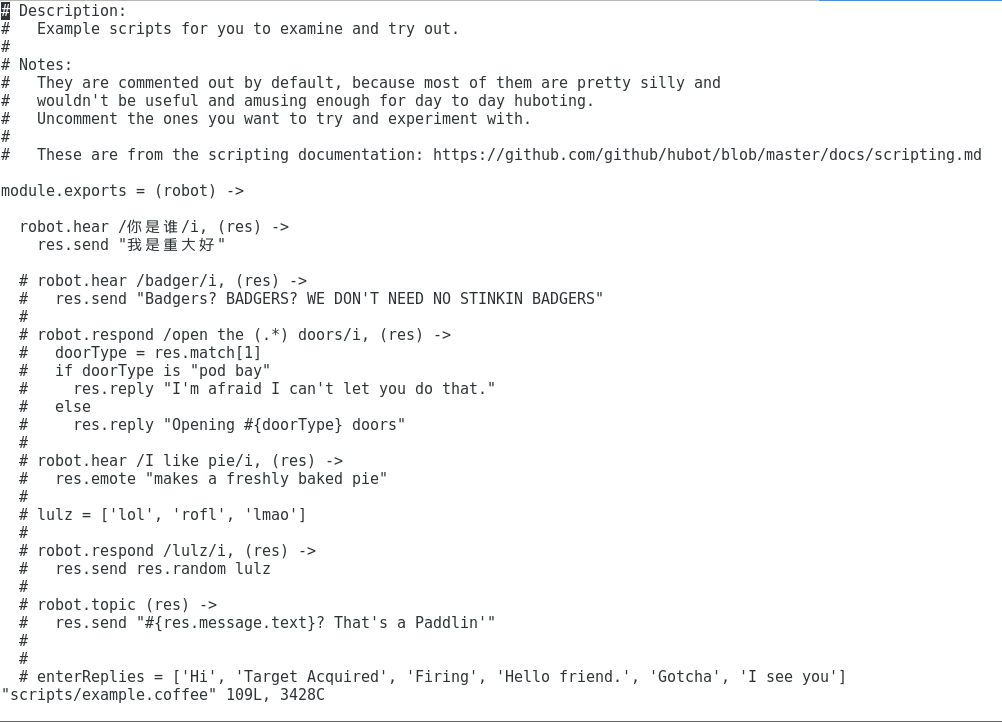
增加一段简单的脚本 在 scripts 文件夹下有一个 example.coffee 文件,里面有一些注释了的示例脚本
在 module.exports = (robot) -> 下增加两行
1
2
robot.hear /你是谁/i, (res) ->"我是重大好"
再启动 hubot 就能有相应对话了
1
2
myHubot> 你是谁
运行 bash 脚本 仅仅使用 node 环境下的 script 脚本是不足以完成繁重的运维工作的,此时我们还需要 hubot 能够运行 bash 脚本。这个任务也很容易完成,只要添加一个插件:hubot-script-shellcmd 。
安装:
1 2 3 4 5 6 7 8 9 cd <yourhubotdir>'hubot-script-shellcmd' to external-scripts.json if needed)
使用:
1
2
3
4
5
6
7
you> hubot shellcmd
我这输 shellcmd 没反应,我还以为我哪里装错了或者权限问题,找了半天原因,最后运行机器人的 help 命令才发现给改名成了 shell,我明明没做其它任何配置命令名却不一样 ( ̄ε(# ̄)☆╰╮o( ̄皿 ̄///)浪费了我半天时间
bash/handlers/ 文件夹里已经有两个 helloworld 和 update ,可以在 bash/handlers/ 下随便创建一个文件 who :
1
2
3
4
5
6
#!/bin/bash echo "I , robot!" echo "I , dashbot!" exit 0
需要赋值可执行权限:
1 chmod 775 bash/handlers/who
然后就能在机器人那执行了
配置 Slack 参考 Hubot—打造机器人助手
在 Slack 官网注册账号,一开始用 google 账号试了几天,总是创建不了工作区,我还以为是网络或权限问题,后来发现 Slack 不允许使用 qq 邮箱(我 google 账号是用 qq 邮箱注册的),甚至不允许使用163网易邮箱,最后用的 outlook 邮箱才登进去。
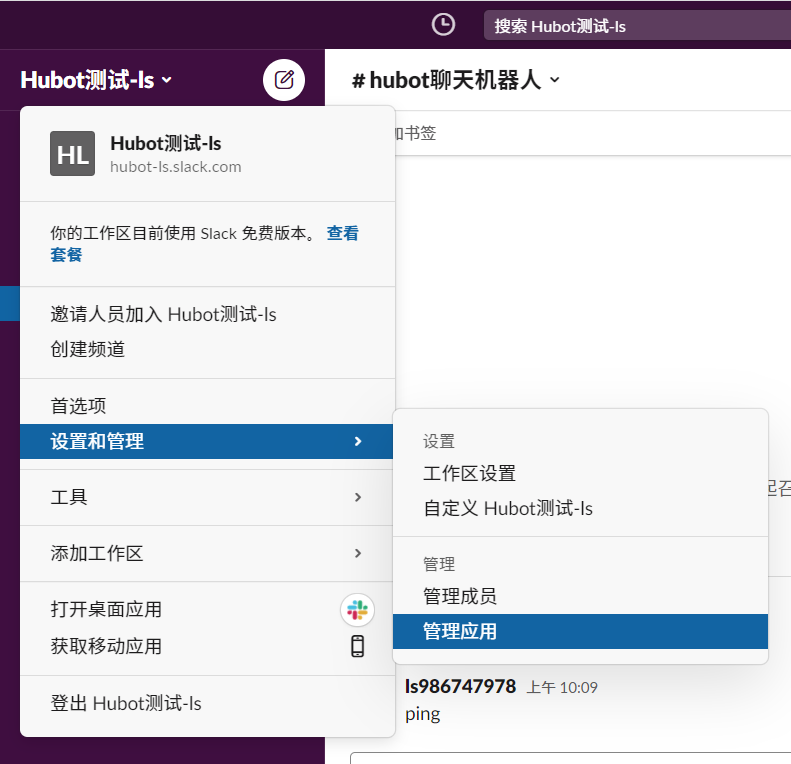
从聊天界面进入到 APP Directory
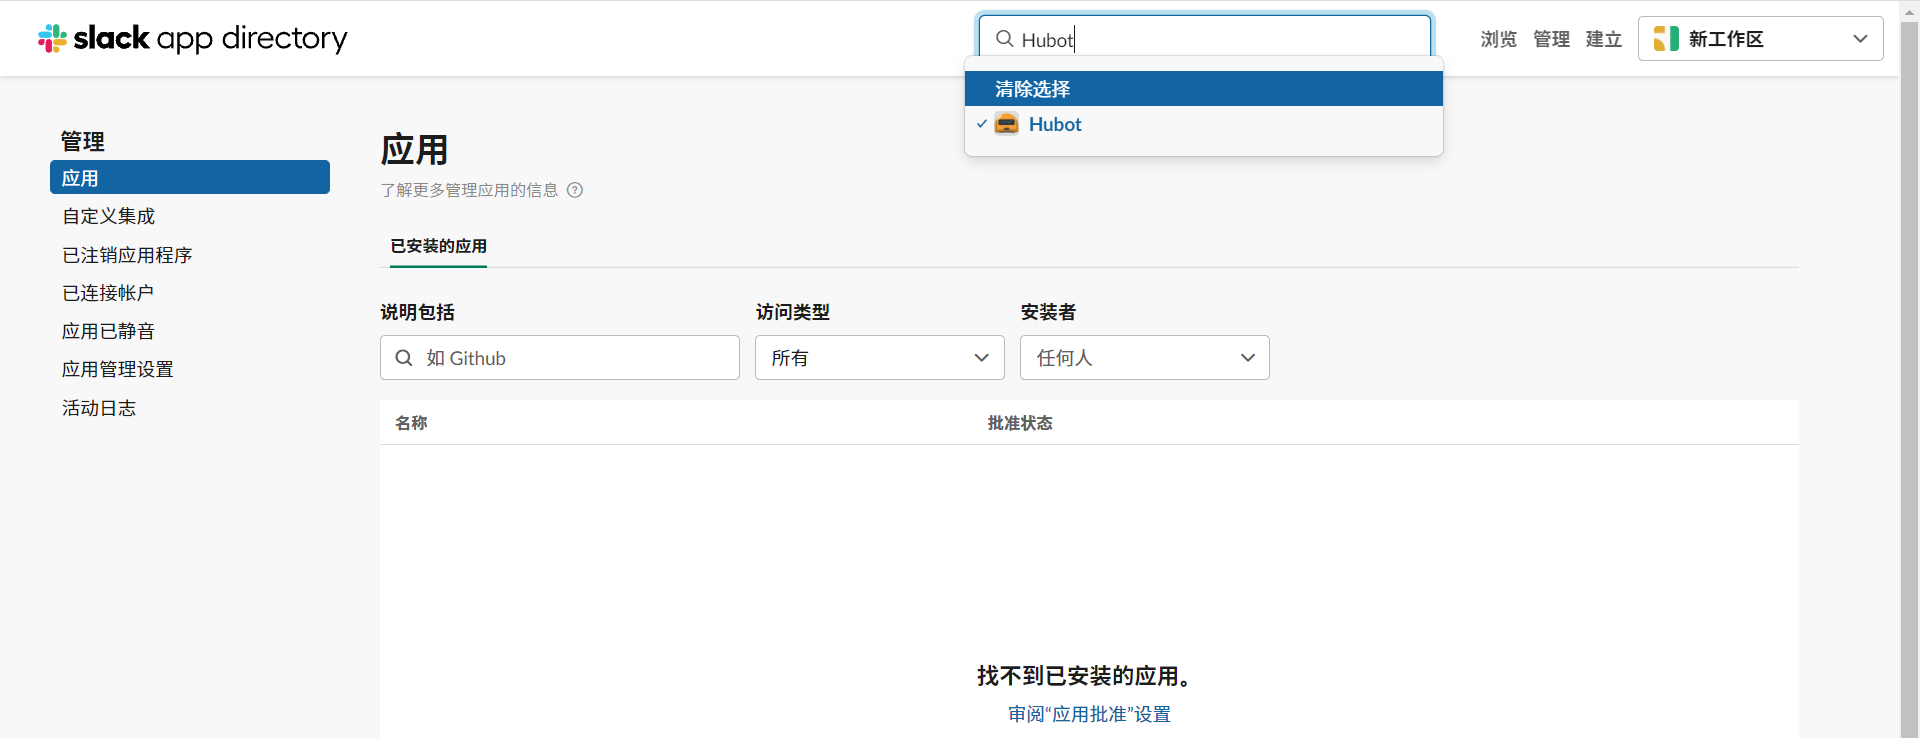
搜索 Hubot
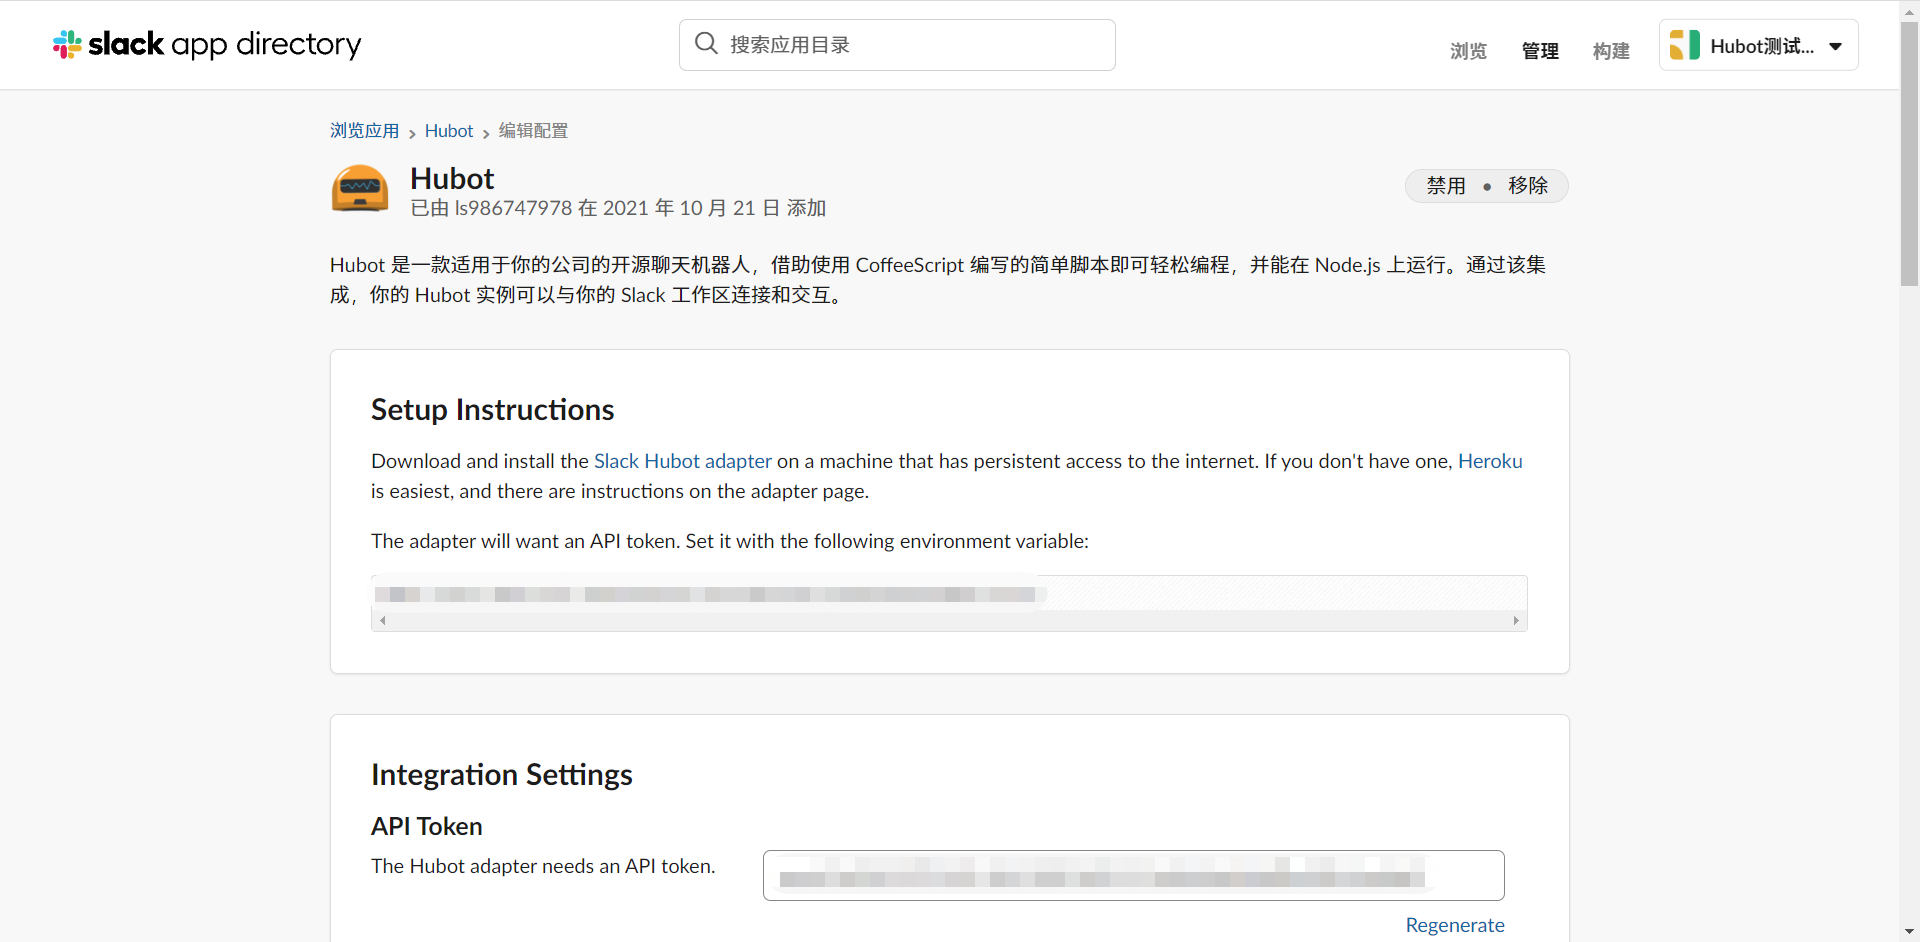
安装 hubot 的过程中,要给机器人起个名字、填写基本信息,最重要的是获取后面要用到的 API Token
到这里,slack 的配置就完成了,接下来在本地启动 hubot ,并连接到 slack
连接 hubot 和 slack 在命令行输入下面指令:
1 HUBOT_SLACK_TOKEN=<API Token> ./bin/hubot --adapter slack
这里的 <API Token> 就是上文在 Slack 中配置的
连接成功后显示如下:
1
2
3
4
5
6
7
8
9
10
11
12
13
[liangsh@localhost Hubot]$ HUBOT_SLACK_TOKEN=xxxx ./bin/hubot --adapter slackin 11.723sfor fundingfor detailsfor detailsin the next major version. See project documentation for a migration guide.in the next major version. See project documentation for a migration guide.in as @dashbot in workspace Hubot测试-ls
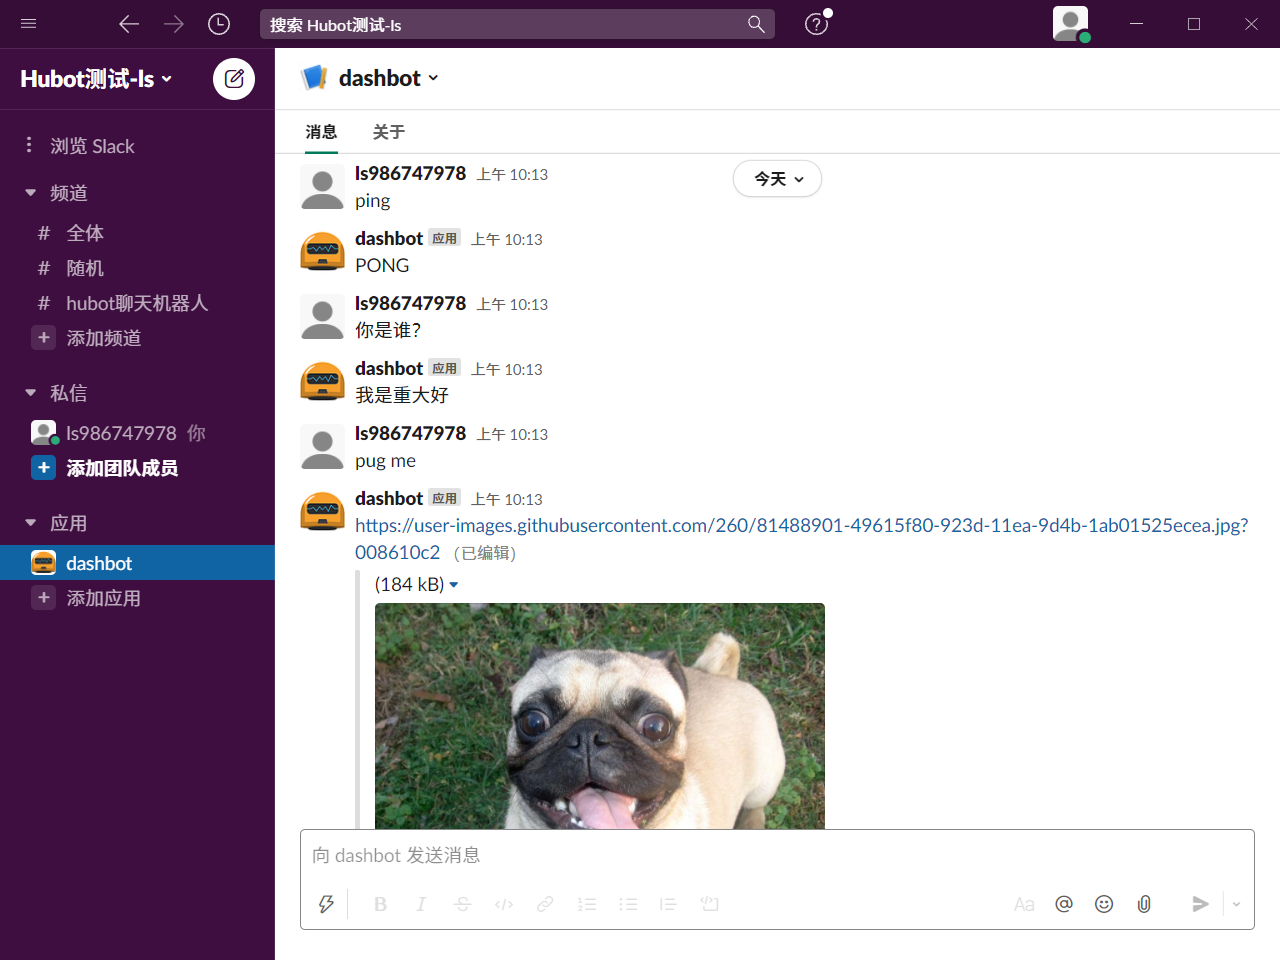
和机器人聊天 接下来我们在聊天窗口和机器人聊天,对话如下:
